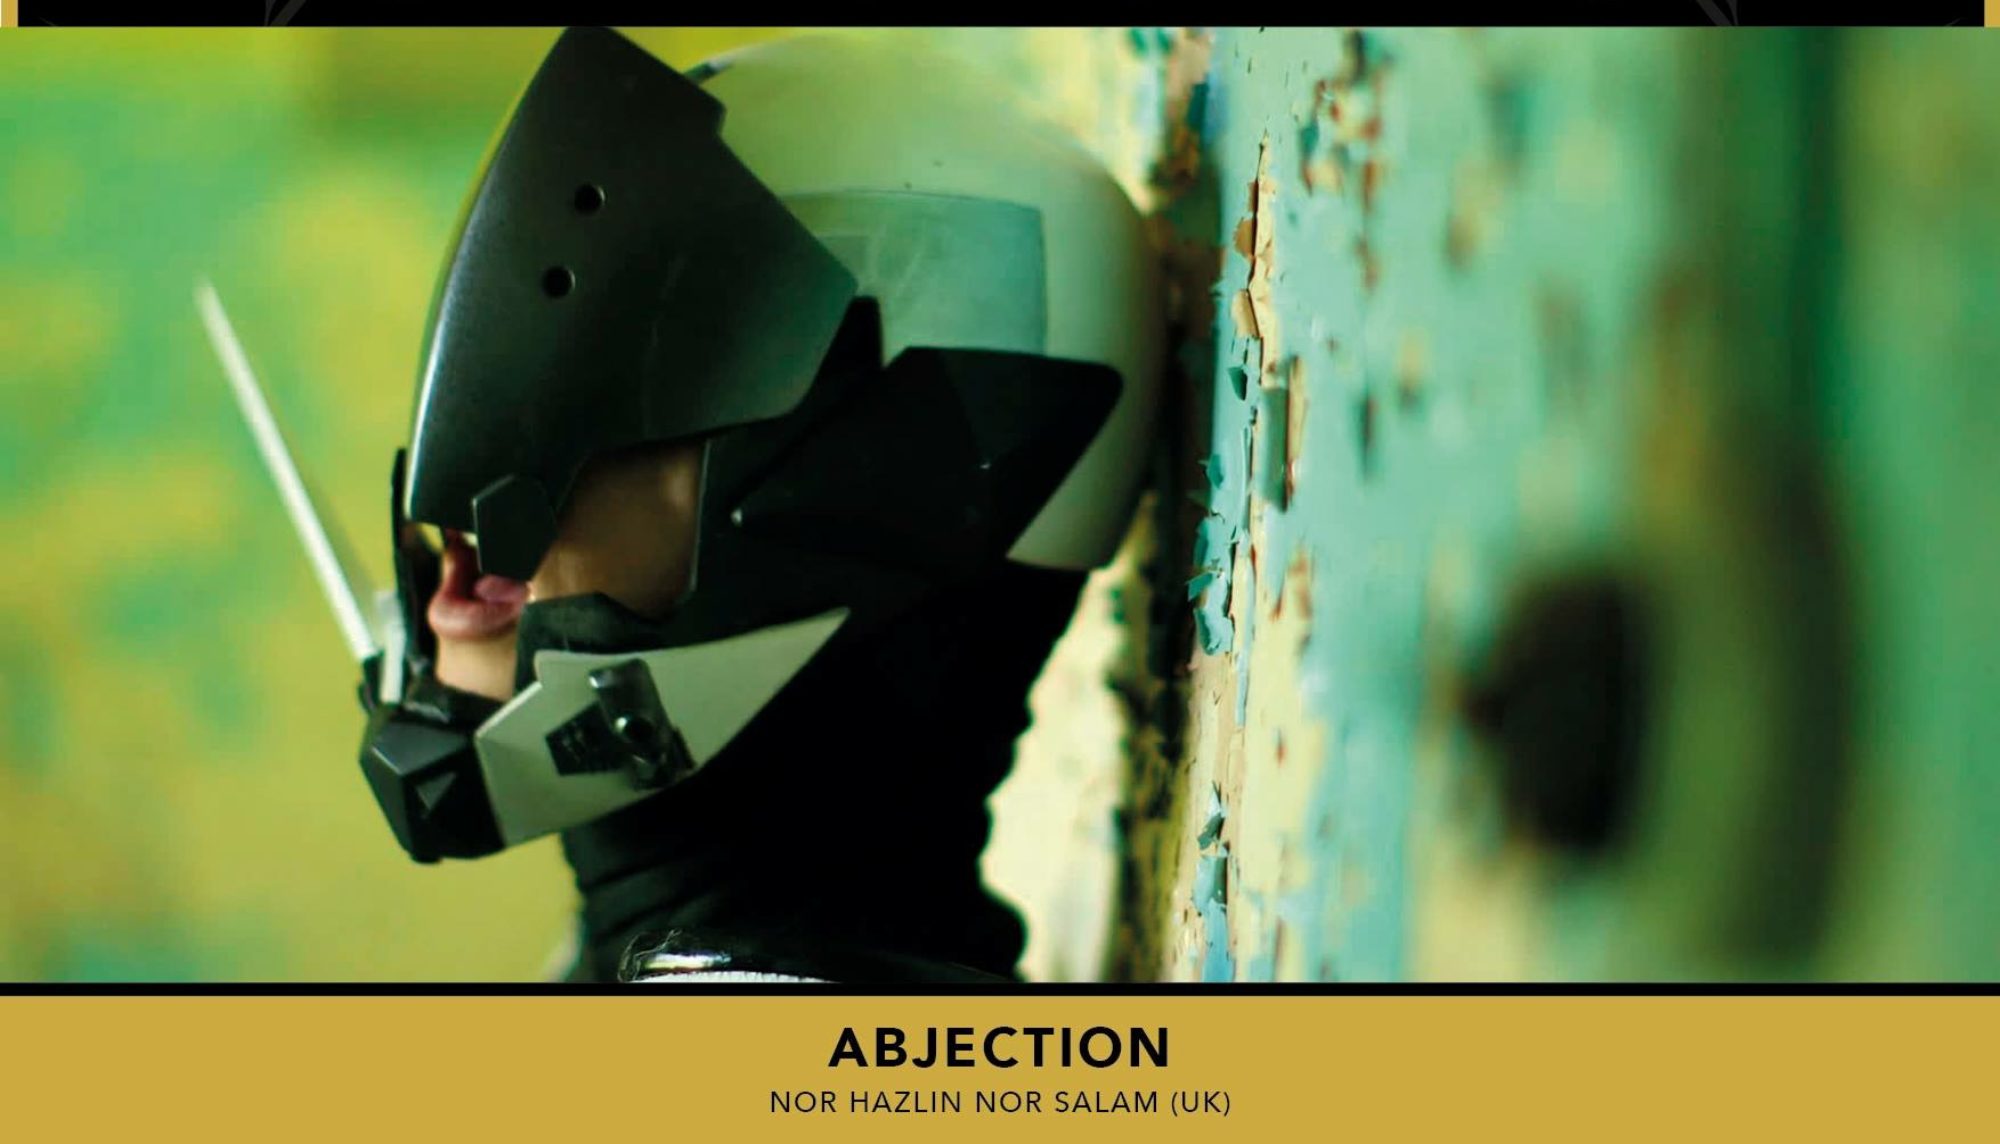


GoPro Filming the evidence
So part of the brief for a recent film project was to record continuously for up to 5 hours without the possibility of being able to change media or battery and with the camera left unattended for that entire time.
GoPro Hero 4 Black
 OK this is an obvious choice, I could of used a DSLR but there would always be the risk that its desirability would make it too attactive to a thieve or the curious. Besides a DSLR in the hands of a 1st AC could be better purposed to capture B-roll for the main documentary.
All it took was a tiny bit of additional expenditure and a bit of creative thinking to come up with a working solution.
 I bought a skeleton case for the GoPro, it cost less than £10 and worked perfectly for the job although the one I bought popped its catch just at the crucial time and almost caused me to miss the start of the event, in fact I had to delay the start until the camera was reinserted and secured.
The skeleton case is identical to the standard case but with cutouts to access the HDMI and USB ports on the right hand side. I needed this so I could attach a USB power source in order to run the GoPro for the entire event some 5 hours in all.
Power Supply
The original idea was to use a mains powered USB charger to supply the GoPro, which was fine for the internal filming but suddenly the brief changed and part of the filming was shifted to an external location in the middle of a field.
 This in the end became a blessing as I dropped the idea of mains power and went directly to a battery option instead. The internal batteries on a GoPro from my experience depending on resolution used can be as little as 20 minutes so no way would that work for continuously recording 5 hours. For many years now I’ve used a backup portable charger and power supply for iPads and iPhones but I have found these extremely useful to have in the camera kit, this one comes with a built in torch as well.
Complete solution
The GoPro was fitted with a 64gb card and settings to maximise recording time, so 720p and narrow field of view. This gave a potential recording time of 7 hours of continuous footage. Now why didn’t I use a time lapse mode and save the worry of battery or card running out of power/space? simple the condition were set by the Guinness World Records and these state continuous recording and any battery/media changes have to be filmed/recorded separately, which of course we couldn’t do as the camera was to be unattended.
 The GoPro was mounted on top of a 3m Manfrotto lighting stand using a ball joint connection, with the USB plugged into the portable power supply that hung from one of the stands locking screws in a small draw string bag. With the stand at its full extension the GoPro was hardly visible and was certainly unobtrusive in it’s operation.


The Final Video
I’ve speeded it up because who really wants to watch 5 hours of people lining up to register and then being counted into the field where the World Record attempt was being held. Did we achieve the World Record? well it’s unofficial as I write this but yes we did 🙂
The Full Documentary
This is a work in progress of which this World Record was just a part, the final film will include the activities on the day with interviews with the organisers and the people working hard to eradicate Polio from the World.

 Just completed filming on an action fight sequence, and for the first time made use of the DJI Osmo Mobile, which is a 3 axis gimbal stableliser.
 The Filmic Pro App, which allows you full manual control of the camera settings on the iPhone and most importantly supports the DJI Osmo Mobile. Personally I found this App relatively intuitive to use, but I checked out the online manual to find out the how to use some of the more advanced features like rack focusing.
 The link to the DJI Osmo mobile was a bit iffy and I needed to reset a few times but in use the setup is light, highly manoeuvrable and perfect for getting close to the action and places with limited access. Walking across an uneven surface didn’t faze this device and saved hours that would have been spent setting up track and dolly to get the same shots.


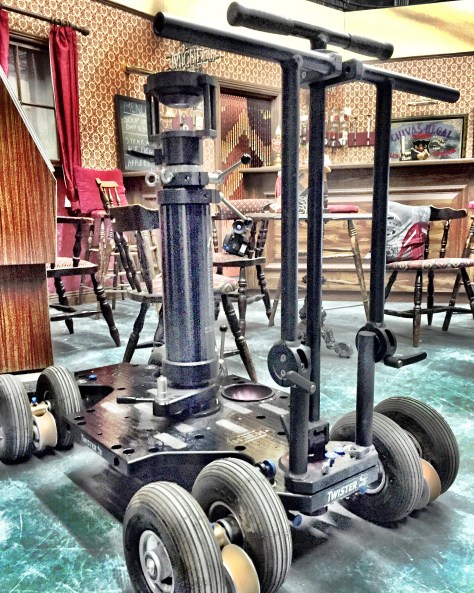 In my previous post I talked about the camera the Arri Alexa, in this post and in part 2 I’m going to be looking at the Panther Dolly, the Vario Jib and Track.
 For this workshop we first fitted the side platforms, which sit between the wheels, extending the sides to allow for operators to stand/sit on the dolly.
 For this workshop the Bazooka the Rotary Adapter and the Bowl was already fitted. The Bazooka (That’s the central post that the camera is mounted onto) is height adjustable by turning the lever at the top anti clockwise being very careful not standing immediately over it as it is gas powered and rises under considerable pressure when the lever is released particularly if unloaded, that is without the tripod head and camera installed. There’s a bowl integrated into one side of the dolly platform for mounting a camera via a tripos head directly to the platform for low level shots.


 As I mentioned before the Arri does not have a built in ND Filter that’s why when you see Arri Alexa’s they always seem to have a Matte Box setup to carry the filters as well as shield the lens from unwanted light. For this shoot we didn’t have an ND Filter to hand so we maxed out, closing down the aperture to F22, when ideally a 6x ND would have been perfect for this shoot to get that shallow depth of field. It is possible to modify/accessorise the Lens mount to provide ND filtering, check with Arri for more information on this.
 The other solution is to usual an actual light meter and take a reading in front of the actors faces. So make a note book out a light meter and make sure you know how to use it correctly. The EVF (Electronic Viewfinder) has a false colour button which others some exposure guidance and I’m guessing with practice this maybe all you need to correctly judge exposure.

 So it’s a simple camera to use, everything is manual, there’s no feedback from the lens (no aperture reading indicators no histogram/vector scopes, there is peaking but no Zebras) to the camera so what you see in the EVF is what you get. The lens mount is PL (Positive Lock) and I’m using Arri Cinema prime lenses in the main and a 15.5 to 45mm FUJINON Alura Zoom. Now when I say this camera is simple you would struggle to do everything yourself so I’d say the camera crew would need to be at least 2 person for operation maybe 3 to cover everything excluding sound.
 Did I say it is a heavy camera? it really is so don’t expect to get away with a standard heavy duty video tripod, you need something more substantial than that to support this camera.
 Setting the camera up for basic recording is simplicity itself just a menu button, buttons above each section and a rotary selection knob with push operation for selecting options. My typical default settings would be Prores 4444 (yeah I know that extra 4 😉 ) and HD at 25FPS. Then just set the Shutter angle to 180 and White Balance to auto to start and then adjust the actual white balance between shots using a grey card. Native ISO is 800 so leave that as is unless you need to work in anything but optimum lighting conditions (Note there is no ND filters built into the camera). Keeping it simple use the Log C setting but if you have your own personal LUT you can import those. There’s an SD card slot for adding and storing personal settings.